My love for baking homemade pies has led me to perfect a classic apple pie recipe that’s both easy to make and utterly delicious. There’s something special about combining tender apples with a flaky crust that just can’t be beat.
This apple pie is made from scratch, with juicy slices coated in sugar and spices, baked to perfection in a flaky homemade crust. The best part? It’s designed to be foolproof, so you don’t have to worry about mushy apples or a soggy crust.
Key Takeaways
- Learn how to make a classic apple pie with a flaky, buttery crust.
- Discover the secrets to perfectly spiced apple filling.
- Understand the techniques for creating a homemade pie crust.
- Avoid common pitfalls like soggy bottom crusts or mushy fillings.
- Get tips for achieving the perfect balance of sweet and tart flavors.
The Perfect Homemade Apple Pie
My favorite apple pie recipe is a masterclass in achieving the ideal balance of a flaky pie crust and tender apples. To create this masterpiece, it’s essential to balance several key elements: a buttery, flaky crust that provides structure without being tough; tender apple slices that hold their shape while becoming soft; and a filling that’s thick and saucy without being runny.

Pre-cooking the apple filling for just 5 minutes on the stove helps develop the flavors and ensures the apples cook evenly in the oven. This homemade apple pie recipe creates a deep-dish style pie that’s generously filled with apples and encased in a golden, flaky pie crust that’s crisp even on the bottom.
The combination of sweet and tart flavors, warm spices, and varied textures makes this apple pie a true classic. By streamlining the process, this recipe is approachable for bakers of all skill levels, resulting in a pie that looks impressive, tastes amazing, and brings that nostalgic homemade comfort.
Essential Ingredients for Apple Pie
To make a truly exceptional apple pie, you’ll need to start with the right ingredients, which I’ll outline below. The quality of your ingredients directly impacts the flavor and texture of your pie, making it crucial to select the best.
For the Flaky Pie Crust
A flaky pie crust is a hallmark of a well-made apple pie. To achieve this, you’ll need cold unsalted butter, cut into small cubes to create those desirable flaky layers as it melts during baking. Combine this with all-purpose flour, salt, and a touch of vinegar, which helps create tenderness in the final crust. Don’t forget ice water to bring the dough together.

Using vegetable shortening in combination with butter will give your crust the perfect texture. The key is to keep the butter very cold, ensuring it doesn’t melt into the flour, thus creating steam pockets during baking.
For the Apple Filling
For the apple filling, I recommend using primarily Granny Smith apples as they hold their shape well during baking and provide a tart flavor that balances the sweetness of the sugar. You’ll need about 7 large apples, peeled, cored, and sliced into ½ inch slices. The combination of granulated sugar and light brown sugar adds depth of flavor, with the brown sugar’s molasses notes complementing the apples beautifully.
To enhance the flavor, add a teaspoon of ground cinnamon and a hint of nutmeg. A tablespoon of lemon juice will brighten the filling, prevent the apples from browning, and balance the sweetness. All-purpose flour works as a thickening agent, ensuring your pie isn’t watery when sliced.
Kitchen Equipment You’ll Need
The right equipment can make all the difference in baking the perfect apple pie. To ensure a smooth baking process, you’ll need a few essential tools.
First and foremost, a 9-inch pie plate is necessary for this recipe. I prefer using a glass pie plate as it conducts heat evenly and allows you to see when the bottom crust is properly browned.
Other crucial tools include:
- A good quality rolling pin for achieving an even thickness in your pie crust.
- At least two mixing bowls – one large and one medium – for preparing the apple filling and making the pie crust.
- Parchment paper for rolling out your dough without it sticking to your work surface.
- A baking sheet to place under your pie while baking, catching any potential overflow.
- Aluminum foil for creating a pie shield to protect the edges of your crust from over-browning.
- Measuring cups and spoons to ensure accuracy in your ingredients.
Having these tools on hand will make the process of making your apple pie much simpler.
Best Apples for Apple Pie Recipe
Choosing the best apples for your apple pie is a decision that greatly impacts the final product. The ideal apples should maintain their structure during baking while releasing enough juice to create a flavorful filling.
Granny Smith apples are widely regarded as the gold standard for apple pies due to their firm texture and tart flavor, which balances the added sugars in the recipe. I often recommend using a combination of apple varieties to create complexity in flavor and texture – a mix of tart and sweet apples creates the perfect balance.
For instance, Honeycrisp apples have gained popularity for pie-making due to their perfect balance of sweetness and tartness, plus they maintain their shape beautifully during baking. Other excellent apple varieties for pie include Pink Lady, Braeburn, Jonagold, and Jazz – all of which offer good structure and won’t turn mushy during the long baking time.
- The best apples for apple pie are those that are firm and tart, like Granny Smith.
- Using a mix of apple varieties can enhance the flavor and texture of your pie.
- Avoid softer apple varieties like McIntosh, Red Delicious, or Gala, as they break down too quickly.
- For this recipe, you’ll need approximately 7-8 large apples, which will create a generous, tall filling.
When selecting apples, look for fruits that feel heavy for their size and have no soft spots, indicating freshness and higher juice content. The right variety of apples, combined with their freshness, will ensure your apple pie turns out delicious and satisfying.
Making the Perfect Flaky Pie Crust
Creating the perfect flaky pie crust is essential for a great apple pie. The process involves several key steps that ensure your crust turns out tender and flaky rather than tough and soggy.
Step-by-Step Crust Instructions
To start making your pie crust, begin by whisking together your dry ingredients. Then, cut in cold butter until the mixture resembles coarse crumbs with some pea-sized pieces of butter still visible. This step is crucial for creating a flaky pie crust. Next, add ice water gradually, mixing just until the dough comes together. Overworking the dough can lead to a tough crust, so it’s essential to stop mixing as soon as the dough forms.
After forming the dough into two discs for the bottom and top crusts, wrap them tightly in plastic wrap and refrigerate for at least one hour. This resting period allows the gluten to relax and the butter to firm up, making the dough easier to roll out. When rolling out your pie crust, work on a lightly floured surface and roll from the center outward, rotating the dough quarter turns frequently to maintain an even circle shape.
Make-Ahead and Storage Tips
One of the advantages of making pie crust from scratch is that it can be prepared ahead of time. The dough can be refrigerated for up to 3 days or frozen for up to 3 months, making it ideal for holiday baking. If you choose to freeze your dough, thaw it overnight in the refrigerator before rolling it out on a floured surface. To enhance the tenderness of your crust, consider adding a tablespoon of vinegar to your recipe, as it inhibits gluten formation.
For the flakiest results, using a combination of butter for flavor and vegetable shortening for texture is recommended, though an all-butter crust can be equally delicious with the right technique. The ideal thickness for your pie crust is about 1/8-inch; too thick and it won’t cook through properly, too thin and it may tear or become soggy from the filling.
By following these steps and tips, you’ll be well on your way to creating a perfectly flaky pie crust that will elevate your homemade apple pie to the next level.
Preparing Your Apple Pie Filling
The art of making an apple pie begins with preparing its filling, a process that demands attention to detail. A well-crafted apple filling is the heart of the pie, providing the flavor and texture that makes the dessert truly special.
Slicing and Preparing the Apples
To start, you’ll need to peel, core, and slice your apples. Consistency in apple slice thickness is crucial; aim for slices about 1/4 to 1/2 inch thick. Slices that are too thin will break down during baking, while those too thick won’t cook through properly. A dedicated apple peeler/corer/slicer tool can make this process much faster, especially if you make pies frequently.
In a large mixing bowl, gently toss the apple slices, granulated sugar, light brown sugar, flour, cinnamon, nutmeg, lemon zest, and lemon juice until well combined. This step is crucial for coating the apple slices evenly with the sugar and spice mixture.
Mixing the Perfect Spice Blend
For the perfect spice blend, cinnamon serves as the foundation. However, adding small amounts of nutmeg and allspice creates a more complex flavor profile that enhances the natural taste of the apples. When mixing your apple filling, be sure to incorporate the flour or thickening agent thoroughly to avoid clumps, ensuring a smooth, consistent texture when baked.
Some bakers prefer to macerate their apples by letting them sit with sugar for 30-60 minutes before baking. This process draws out juices and reduces the volume of apples, allowing you to pack more into your pie. Additionally, adding lemon juice and zest serves multiple purposes: it prevents browning, adds brightness to the flavor, and the natural pectin in lemon helps thicken the filling.
For the best flavor development, prepare your apple filling right before assembling the pie. This approach prevents too much liquid from being released, ensuring your pie has the perfect balance of flavors and textures.
Assembling and Baking Your Apple Pie
With your pie crust and apple filling ready, it’s time to assemble and bake your classic apple pie. This crucial step requires attention to detail to ensure your pie turns out perfectly golden brown and delicious.
Bottom Crust and Filling
To start, remove the discs of pie crust from the fridge and let them set at room temperature for 5-10 minutes. On a lightly floured surface, roll one of the discs into a 12″ circle that is ⅛” thick. Gently place the crust into the bottom of a deep-dish pie plate. Spoon the apple pie filling into the crust, discarding any excess liquid that may have accumulated at the bottom of the mixing bowl. Spread the apple slices evenly.
When transferring the bottom crust to your pie plate, gently fold it in quarters or roll it around your rolling pin to move it without stretching or tearing the dough. Press the bottom crust gently into the corners of the pie plate without stretching it, which can cause shrinkage during baking. Then, trim the edges to about 1/2-inch overhang.
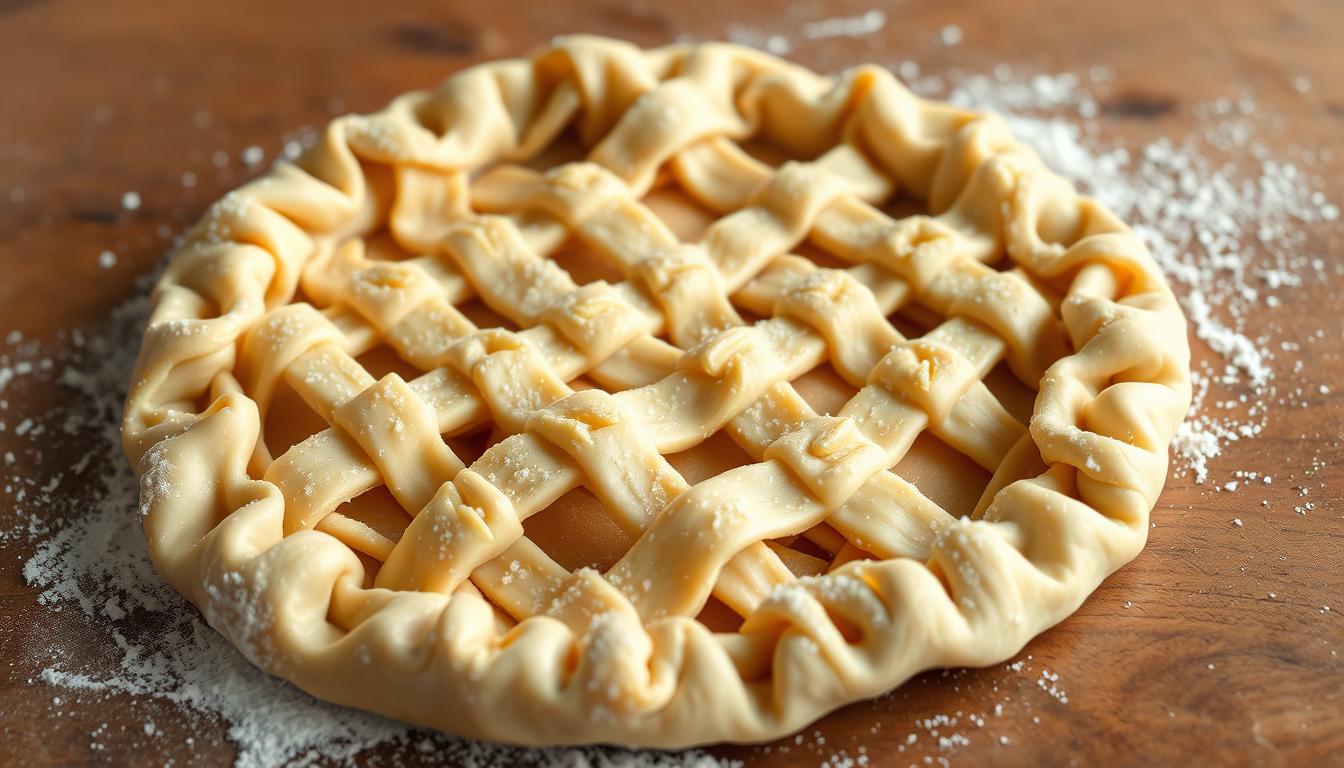
Top Crust Options
For the top crust, you have several options: a traditional full top crust with vents cut for steam escape, a lattice design for visual appeal, or decorative cutouts that allow steam to escape while adding artistic flair. If using a full top crust, be sure to cut several vents to allow steam to escape during baking. Seal the edges of your top and bottom crusts by pinching them together, then create a decorative edge by crimping with your fingers or pressing with a fork.
Baking Temperature and Timing
Before baking, brush the top crust with an egg wash (beaten egg with a tablespoon of water or milk) to achieve that beautiful golden brown color, and sprinkle with coarse sugar for added texture and sweetness. For perfect baking, preheat your oven to 400°F and place the pie on the center rack. Starting with a higher temperature sets the crust structure before lowering to 375°F to finish baking without burning. Bake the pie at 400°F for 25 minutes, then remove the pie shield, lower the oven temperature to 375°F, and bake an additional 30-35 minutes.
Some key tips to keep in mind:
- Use a slotted spoon to transfer the apple slices, leaving behind excess liquid that could make your bottom crust soggy.
- Pile the apples high in the center as they will shrink during baking.
- Total baking time is approximately 60-65 minutes – the pie is done when the crust is golden brown and the filling is bubbling through the vents.
By following these steps and tips, you’ll be able to create a beautifully baked apple pie with a flaky crust and tender apple filling.
Troubleshooting and Expert Tips
With a little know-how, you can overcome common pitfalls and bake an apple pie that’s sure to impress. Making the perfect apple pie requires attention to detail, from preparing the crust to baking the final product.
Preventing Soggy Bottom Crust
One of the biggest challenges in pie baking is preventing a soggy bottom crust. To achieve a crispy crust, bake your pie on a preheated baking sheet or pizza stone, which helps conduct heat directly to the bottom crust. Another effective technique is to brush the unbaked bottom crust with a thin layer of beaten egg white before adding the filling, creating a protein barrier that resists moisture.
- Use a glass pie plate to check the doneness of your bottom crust; it should be golden brown.
- When adding your apple filling, be sure to leave behind any accumulated juices in the mixing bowl.
Storage and Reheating
For storage, apple pie can be kept at room temperature, loosely covered, for up to 2 days, or refrigerated for up to 5 days. When reheating, warm individual slices in a 350°F oven for 10-15 minutes to restore crispness to the crust.
- To protect the edges of your crust from over-browning, use a pie shield made from aluminum foil.
- If your pie is browning too quickly on top, tent the entire pie loosely with foil for the remainder of the baking time.
Serving Suggestions
Serving apple pie is an art that can elevate this classic dessert to new heights. The key to a great serving experience lies in the timing and the accompaniments.
The apple pie is best served slightly warm, not hot, allowing it to cool for at least 3 hours after baking. This waiting period lets the filling set properly before slicing, ensuring a delightful experience.
- A scoop of vanilla ice cream on top creates a perfect hot-and-cold contrast, enhancing both the pie and the ice cream.
- For a less sweet option, serving apple pie with a slice of sharp cheddar cheese is a traditional pairing, especially popular in New England and the Midwest.
- Freshly whipped cream, lightly sweetened and flavored with vanilla or cinnamon, makes another excellent topping.
The pie can be made up to 2 days ahead of time and stored, loosely covered, at room temperature or covered in the refrigerator for up to 5 days. When serving at a dinner party, warming individual slices in the oven for 5-10 minutes while guests finish their main course can recreate that fresh-baked experience.
For an elegant dessert course, apple pie pairs beautifully with coffee, tea, or a glass of dessert wine like ice wine or late-harvest Riesling. Experimenting with different serving methods can enhance the overall experience of enjoying this beloved dessert.
Conclusion
Having walked through the detailed process of crafting the perfect apple pie, you’re now well on your way to baking a dessert that’s both traditional and tantalizing. This classic apple pie recipe combines the best elements of traditional techniques with modern shortcuts, making it achievable for home bakers. The time invested in making a homemade flaky pie crust and carefully prepared filling results in a pie that’s far superior to anything store-bought.
As you master this basic apple pie recipe, you can experiment with variations, such as adding cranberries or trying alternative top crust designs. With practice, you’ll develop more confidence and skill in handling the dough and creating that perfect balance of flavors. I hope this guide has given you the tools and confidence you need to create your own perfect pie – I’d love to hear how it turns out when you try it!
FAQ
What type of apples are best for making a classic apple pie?
I recommend using a mix of sweet and tart apples, such as Granny Smith, for the best flavor. Their firm texture holds up well to baking, and their tartness balances the sweetness of the sugar and spices.
How do I achieve a flaky pie crust?
To make a flaky pie crust, it’s essential to keep the butter cold and to not overwork the dough. I also suggest using a combination of all-purpose flour and a bit of salt, and to chill the dough for at least 30 minutes before rolling it out.
Can I make the pie crust ahead of time?
Yes, you can make the pie crust ahead of time. Simply wrap it tightly in plastic wrap or aluminum foil and store it in the refrigerator for up to 2 days or freeze it for up to 2 months.
How do I prevent the bottom crust from becoming soggy?
To prevent a soggy bottom crust, I recommend pre-baking the crust for a few minutes before adding the filling, and using a baking sheet to help distribute the heat evenly. You can also try brushing the bottom crust with a little bit of egg wash or melted butter.
What’s the best way to store leftover apple pie?
To keep your apple pie fresh, store it in an airtight container at room temperature for up to 2 days or wrap it tightly in foil or plastic wrap and refrigerate for up to 5 days. You can also freeze it for up to 2 months and thaw it at room temperature or reheat it in the oven.
Can I use brown sugar instead of white sugar in the apple filling?
Yes, you can use brown sugar instead of white sugar, but keep in mind that it will give the filling a slightly different flavor and texture. I recommend using a combination of white and brown sugar for the best results.
How do I know when the pie is done baking?
The pie is done when the crust is golden brown and the filling is bubbly and tender. You can also check the internal temperature with a thermometer, which should read at least 165°F.