
Cheese-Filled Toasted Ravioli Recipe
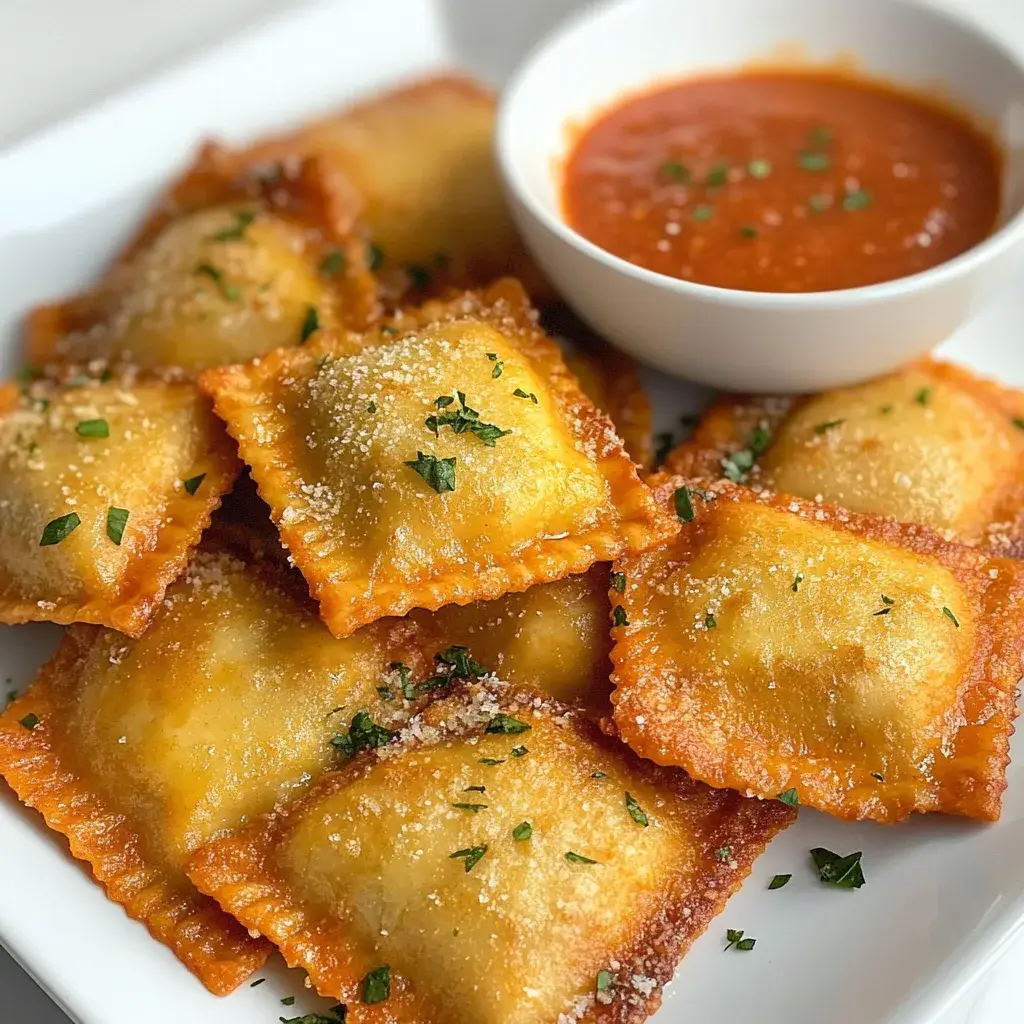
This Cheese-Filled Toasted Ravioli recipe is the ultimate crispy, cheesy appetizer! Made with store-bought ravioli, coated in breadcrumbs, and fried (or air-fried!) until golden brown, these bites are perfect for parties, game day, or anytime you want a quick and satisfying snack.
Total: 30 minYield: 6 servingsMethod: Frying or Air Frying
In this recipe
My first experience making these golden pillows of joy was for my sister's birthday gathering, where they disappeared within minutes! The beauty of these little treasures is how they transform simple ingredients into something that feels special. Whether you're hosting a casual get-together or looking for a crowd-pleasing appetizer, these toasted ravioli from Tasty eRecipes will quickly become your signature dish.
Why You'll Love This Cheese-Filled Toasted Ravioli
Perfect Texture Contrast
There's something magical about the textural experience of biting into properly toasted ravioli. The outside develops this golden crust that gives way to pillowy pasta and molten cheese. The first time I served these at a family dinner, my nephew (who typically avoids trying new foods) ate seven in one sitting! That perfect contrast between crispy exterior and gooey interior creates an almost addictive quality that keeps everyone reaching for "just one more."
Versatile Crowd-Pleaser
They're universally appealing while still feeling special. The beauty lies in their adaptability – pair them with a simple marinara for casual occasions or elevate them with a truffle aioli for something more sophisticated. Kids love the fun, finger-food aspect, while adults appreciate the nostalgic comfort food vibes with a grown-up twist.
Essential Tips & Tricks
Perfecting the Coating Process
The secret to achieving that restaurant-quality crunch comes down to your breading technique. Create a proper station with flour, egg wash, and breadcrumbs in separate shallow dishes. The flour helps the egg adhere, while the egg creates the perfect surface for breadcrumbs to cling to. Work in small batches, keeping one hand for wet ingredients and one for dry to avoid the dreaded "breading fingers." This methodical approach makes cleanup easier and ensures each ravioli gets that perfect golden coating that makes thick and creamy tomato soup an ideal dipping companion.
Temperature Control Matters
Maintaining the right oil temperature is absolutely critical for perfect toasted ravioli. Too hot, and they'll burn before the inside warms; too cool, and they'll absorb oil and become greasy. I use a cooking thermometer to keep my oil between 350-375°F. When I skip this step, the results are never as good! Another tip: don't overcrowd your pan. Adding too many ravioli at once drops the oil temperature dramatically. Instead, work in small batches, giving each piece plenty of space. After frying, let them rest on paper towels for a minute, then transfer to a wire rack. This prevents them from steaming underneath and losing that precious crispiness we've worked so hard to achieve.
Serving Ideas & Creative Variations
Dipping Sauce Pairings
The right dipping sauce can elevate your cheese-filled toasted ravioli from delicious to absolutely unforgettable. My personal favorite is a roasted garlic aioli with a hint of lemon – the creaminess pairs beautifully with the crispy exterior. For something with a kick, try a spicy arrabbiata or buffalo sauce with a cooling blue cheese dip on the side. These ravioli also pair wonderfully with the flavors in my chicken cacciatore with peppers for an Italian-themed dinner party.
Creative Filling Alternatives
While classic cheese filling is experimenting with different fillings can create exciting flavor profiles that surprise and delight your guests. For meat lovers, a sausage and mozzarella blend brings a satisfying heartiness. My recent obsession is a butternut squash filling with a hint of nutmeg and brown butter – perfect for fall gatherings! Mushroom and truffle oil makes for an elegant variation that feels restaurant-worthy. The key is ensuring your fillings aren't too wet, as this can make the ravioli difficult to seal properly. Whatever filling you choose, maintain that perfect ratio of ingredients to keep the integrity of your toasted treasures.
Storage & Troubleshooting Guide
Make-Ahead and Freezing Tips
One of the best things about these cheese-filled toasted ravioli is their make-ahead potential. I often prepare a double batch and freeze half for last-minute entertaining emergencies. To freeze properly, arrange the breaded (but unfried) ravioli in a single layer on a parchment-lined baking sheet and freeze until solid, about 2 hours. Then transfer them to freezer bags, removing as much air as possible. They'll keep beautifully for up to 3 months! When you're ready to serve, you can fry them directly from frozen – just add about 30-45 seconds to the cooking time. The texture remains virtually identical to freshly made, which has saved me countless times when unexpected guests arrive.
Troubleshooting Common Issues
Even experienced cooks occasionally encounter challenges with toasted ravioli. If your ravioli are bursting during frying, the likely culprit is excess moisture. Try patting your ravioli dry before breading and ensure they're properly sealed. For breading that falls off during cooking, your oil may not be hot enough, or you might be skipping that crucial flour step that helps everything adhere. If your ravioli are browning too quickly but still cold inside, your oil is too hot – lower the temperature and be patient. For ravioli that seem greasy, they're likely absorbing too much oil from either too-cool cooking oil or insufficient draining afterward. Remember that properly drained ravioli should feel light, not heavy or oil-soaked.
Frequently Asked Questions
Can I bake cheese-filled toasted ravioli instead of frying?
Yes! Arrange breaded ravioli on a parchment-lined baking sheet, spray with cooking oil, and bake at 425°F for 15-20 minutes, flipping halfway. They'll be slightly less crispy but still delicious and healthier.
What's the best cheese for the filling?
A mixture of ricotta and mozzarella creates the perfect creamy-melty balance. Add a touch of parmesan for sharpness and depth of flavor. Avoid very soft cheeses that might become too runny when heated.
Can I use store-bought ravioli for this recipe?
Absolutely! Refrigerated ravioli work perfectly. Just ensure they're patted completely dry before breading. Frozen ravioli should be thawed and dried thoroughly to prevent splattering in hot oil.
How do I keep cheese-filled toasted ravioli warm for a party?
Keep them in a 200°F oven on a wire rack over a baking sheet. This maintains crispiness without overcooking. Avoid covering them, as trapped steam will soften that perfect crust.
Why is my breading falling off during frying?
The most common cause is skipping the flour step or having wet ravioli. Ensure each ravioli is dry, dredged in flour, dipped in egg, and thoroughly coated with breadcrumbs before frying.
Cheese-Filled Toasted Ravioli Recipe
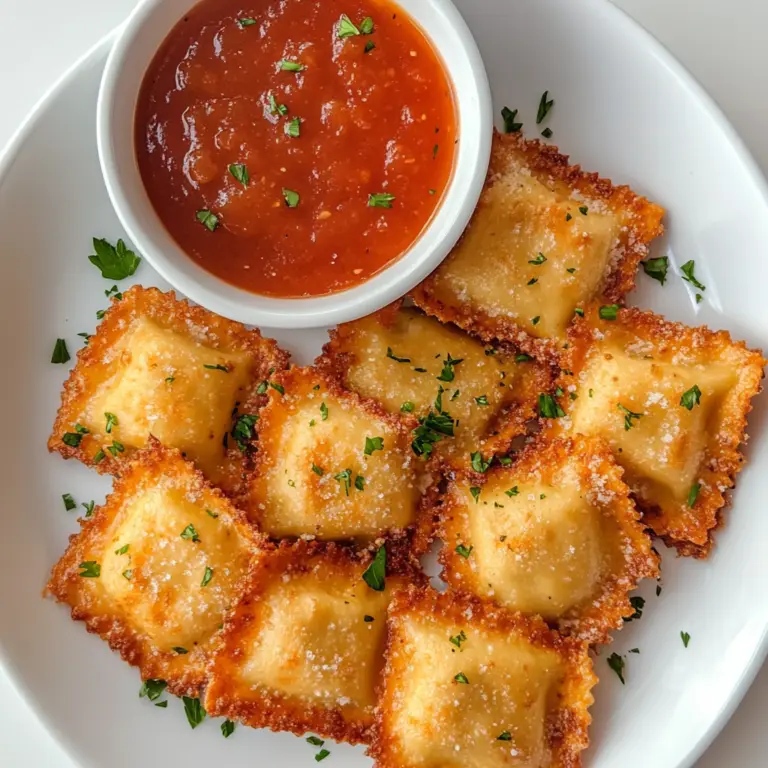
This Cheese-Filled Toasted Ravioli recipe is the ultimate crispy, cheesy appetizer! Made with store-bought ravioli, coated in breadcrumbs, and fried (or air-fried!) until golden brown, these bites are perfect for parties, game day, or anytime you want a quick and satisfying snack.
- Vegetarian
- Beef
- Appetizer
- Frying or Air Frying
Cook’s checkpoint
- Frying oil
- 350°F / 175°C
- Chicken, thickest part
- 165°F / 74°C
Use a food thermometer. Color and time alone don’t confirm poultry is done.
Ingredients
Instructions
Notes
- Use meat or spinach ravioli for variation.
- Make ahead tip: Bread the ravioli and refrigerate up to 24 hours before cooking.
- Leftovers reheat well in the air fryer or oven!