Cheesy Garlic Bread Recipe
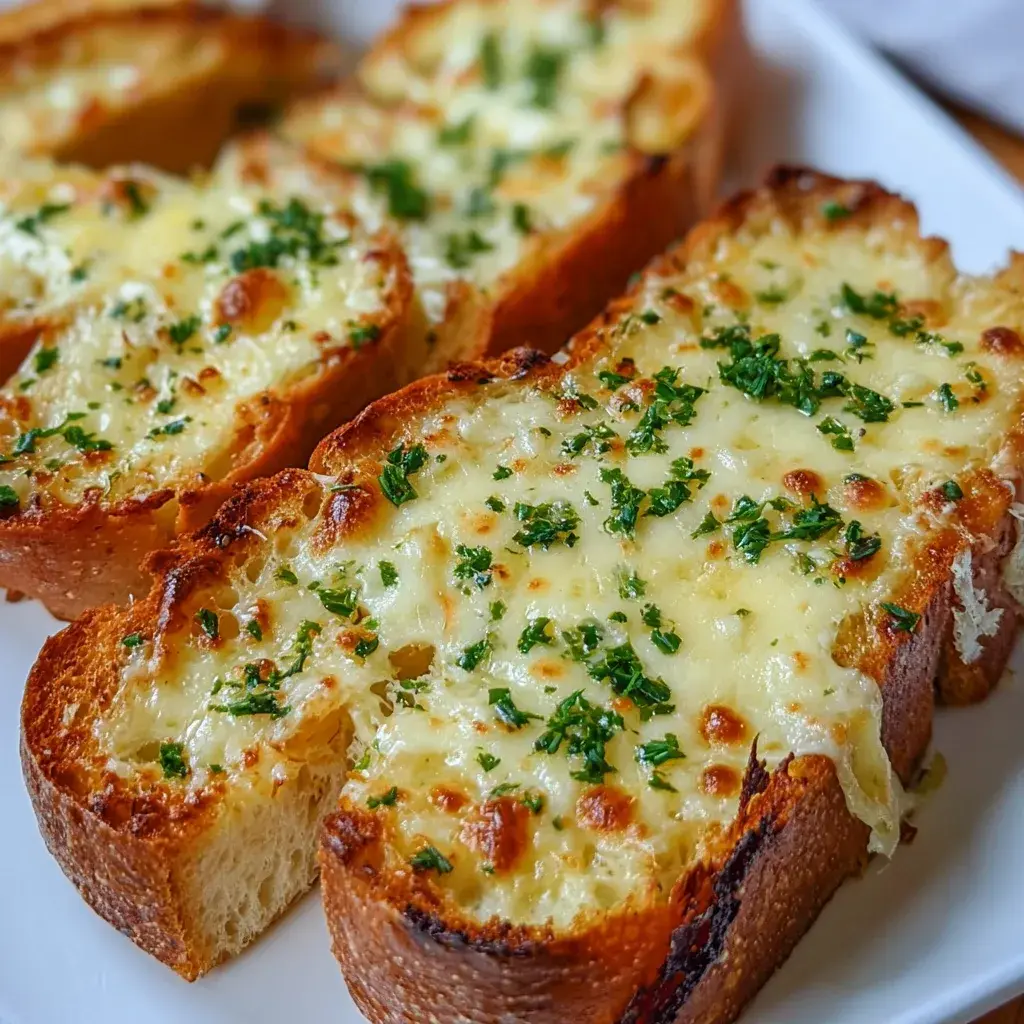
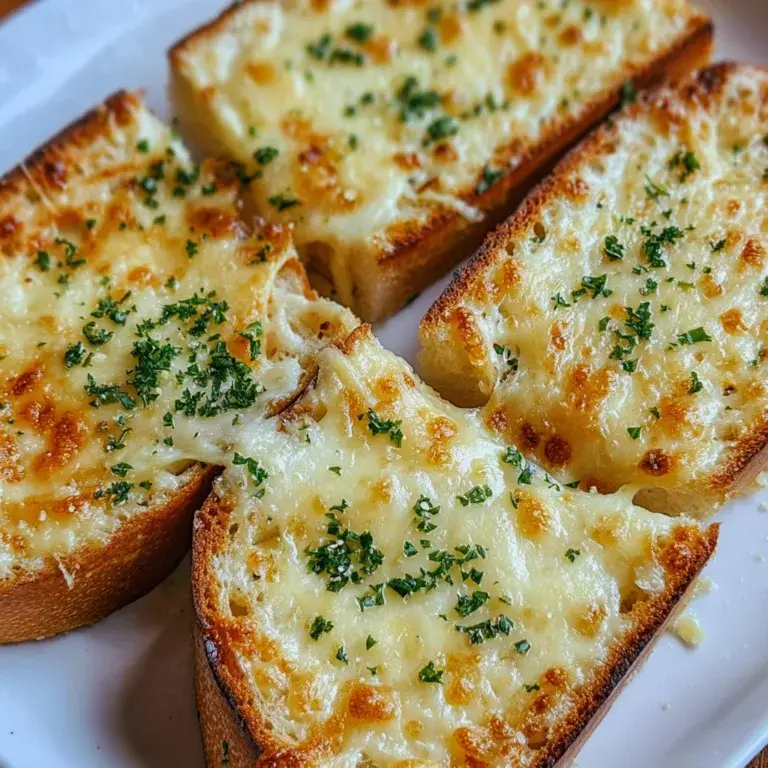
This Cheesy Garlic Bread is crispy, buttery, and bursting with garlic flavor! With golden edges, a gooey cheese topping, and a soft, flavorful center — it’s the ultimate easy side dish for pasta night or any meal!
Total: 22 minYield: 8 slicesMethod: Baking
In this recipe
Cheesy Garlic Bread is one of those comfort foods that transforms any meal from ordinary to extraordinary. The aroma of garlic-infused butter seeping into crusty bread, topped with a blanket of melted cheese that stretches with each bite – it's pure bliss!
Why You'll Love This Cheesy Garlic Bread
Perfect Texture Combination
There's something magical about the textural contrast in properly made cheesy garlic bread. The outside develops this beautiful golden crispness that gives way to a soft, pillowy interior. The key lies in how you apply the garlic butter mixture, ensuring it penetrates the bread without overwhelming it. When you take that first bite, you'll experience the satisfying crunch followed by the tender middle that practically melts in your mouth. It's this textural journey that makes each piece so addictive!
Flavor That Transforms Any Meal
The flavor profile of this cheesy garlic bread elevates absolutely any dish it accompanies. The pungent garlic mellows as it cooks, creating this warm, aromatic foundation that mingles perfectly with the rich butter. Then comes the cheese – a combination of mozzarella for stretch and parmesan for sharp depth. Together, they create this umami-packed experience that somehow makes your spaghetti taste better, your soup feel heartier, and your salad seem more complete. It's culinary alchemy!
Essential Tips & Tricks
Selecting The Right Bread
The foundation of exceptional cheesy garlic bread begins with choosing the perfect loaf. French baguettes offer that classic crisp exterior, while Italian loaves provide a chewier texture with larger air pockets to capture the garlic butter. Ciabatta works beautifully too, with its irregular holes that create pockets of flavor. Whatever you choose, make sure it's fresh but not too soft – day-old bread actually works better as it absorbs the butter without becoming soggy. The sturdier structure stands up to our delicious toppings!
The Perfect Garlic Butter Blend
Creating the ideal garlic butter is where the magic begins. Mince the garlic super fine or use a press to release those essential oils. Add a tablespoon of finely chopped parsley, a pinch of salt, and a whisper of Italian seasoning for depth. The secret ingredient? A tiny splash of olive oil that keeps everything moist and spreadable. Mix until completely combined, then let it sit for 10 minutes before spreading to allow the flavors to meld together.
Serving Ideas & Creative Variations
Perfect Pairings Beyond Pasta
While cheesy garlic bread is the classic companion to pasta dishes, its versatility extends far beyond Italian cuisine. It elevates simple salads into complete meals and transforms ordinary grilled meats into special dinners. For casual gatherings, cut it into smaller pieces and serve with marinara dipping sauce as an appetizer.
Exciting Flavor Twists
Don't be afraid to experiment with different flavor profiles to keep this classic interesting! For something unexpected, try a Mediterranean twist with feta, olives and a sprinkle of oregano. Buffalo chicken cheesy garlic bread is another crowd-pleaser – just add some shredded rotisserie chicken tossed in buffalo sauce before the cheese layer. For sweet-savory balance, caramelized onions work beautifully. And for an extra-indulgent version, try adding small cubes of cream cheese that create pockets of creamy goodness as they melt. The possibilities are endless!
Storage & Troubleshooting Guide
Keeping It Fresh
If you have leftovers, let them cool completely before storing in an airtight container. Refrigerate for up to 3 days. To reheat, avoid the microwave which will make it soggy. Instead, place it in a 350°F oven for 5-7 minutes until the cheese is bubbly again. For make-ahead preparation, you can assemble everything up to the baking step, wrap tightly in foil, and freeze for up to a month. When ready to serve, bake directly from frozen, adding about 10 minutes to the cooking time.
Fixing Common Problems
Even experienced cooks occasionally encounter challenges with cheesy garlic bread. If your bread turns out soggy, you likely used too much butter or a bread that was too soft. The fix? Use less butter next time or toast the bread slightly before adding toppings. If the cheese burns before the bread is properly heated through, your oven temperature is too high. Try lowering it by 25 degrees and covering with foil for part of the baking time. For cheese that won't melt properly, make sure you're using freshly grated cheese rather than pre-packaged shredded varieties, which contain anti-caking agents that affect melting properties.
Frequently Asked Questions
Can I make cheesy garlic bread ahead of time?
Yes! Prepare up to the baking stage, wrap tightly in foil, and refrigerate for up to 24 hours or freeze for up to a month. When ready to serve, bake directly from cold, adding 5-10 minutes to the cooking time.
What's the best cheese for cheesy garlic bread?
A combination works best: mozzarella for stretchy texture, parmesan for sharp flavor, and a touch of cheddar for richness. Always grate your own for better melting properties.
Can I use minced garlic from a jar?
Fresh is best, but jarred works in a pinch. Use about 1½ teaspoons of jarred minced garlic for every fresh clove called for in the recipe.
How do I prevent my cheesy garlic bread from getting soggy?
Toast the bread lightly before adding toppings, don't overdo the butter mixture, and serve immediately after baking for the best texture.
Why does my cheese separate and become oily?
This usually happens when using pre-shredded cheese or overheating. Grate your own cheese and watch the baking time carefully to prevent separation.
Cheesy Garlic Bread Recipe
This Cheesy Garlic Bread is crispy, buttery, and bursting with garlic flavor! With golden edges, a gooey cheese topping, and a soft, flavorful center — it’s the ultimate easy side dish for pasta night or any meal!
- Beef
- Appetizer
- Baking
Cook’s checkpoint
- Frying oil
- 350°F / 175°C
- Chicken, thickest part
- 165°F / 74°C
Use a food thermometer. Color and time alone don’t confirm poultry is done.
Ingredients
Instructions
Notes
- Use freshly grated cheese for the best melt and flavor.
- Add chopped green onions or crumbled bacon for a fun twist.
- Perfect for serving with pasta, soups, or salads.
- Leftovers can be wrapped and reheated in the oven or air fryer to keep crispy.